No Bake Oreo Cake Recipe By The Spicy Trail | Oreo Cream Cake Recipe
Welcome to our culinary journey as we bring you a delightful treat that’s sure to satisfy your sweet cravings. In the world of desserts, few things are as heavenly as the No Bake Oreo Cake recipe, also known as the Oreo Cream Cake recipe. This 3 ingredients delectable creation is a creamy, dreamy masterpiece that requires no baking, making it perfect for all levels of bakers. But before we dive into how to make this delectable dessert, let’s get to know it a little better.
The No Bake Oreo Cake is a decadent dessert that combines the irresistible crunch of Oreo cookies with a velvety smooth creaminess. Originating from the United States, this cookie has gained worldwide popularity for its simplicity and indulgent flavor profile. Moreover, the dish boasts a host of attractions from its ingredients, including the rich cocoa flavor of Oreo cookies and the luscious creaminess of dairy products, making it a delightful treat for both kids and adults alike.
Now, let’s paint a picture of what you can expect in the upcoming recipe. We’ll walk you through the steps to create this mouthwatering dessert without giving away all the secrets just yet. Stay tuned as we embark on this culinary adventure and gather the ingredients you’ll need to whip up your very own No Bake Oreo Cake.
With everything in place, it’s time to dive into the heart of this recipe. So, without further ado, let’s begin our journey towards crafting the perfect No Bake Oreo Cake. Gather your utensils, clear your workspace, and get ready to indulge in the magic of this delightful dessert.
Ingredients
Instructions
- Prepare the Oreo Cookie Powder:
1. Take 10 Oreo cookies and place them in a blender.
2. Blend them until they turn into a fine powder.
3. Set this Oreo powder aside; it will be used to create the cookie base for the cake.
- Prepare the White Chocolate and Cream Mixture:
1. In a bowl, combine room temperature white chocolate and heavy cream.
2. Mix them together until you have a smooth and uniform mixture without any lumps.
- Crush the Remaining Oreo Cookies:
1. Take the remaining 10 Oreo cookies and crush them coarsely.
2. You can do this by placing the cookies in a plastic bag and gently crushing them with a rolling pin or the back of a spoon or with a knife.
- Incorporate the Coarsely Crushed Cookies:
1. Add half of the coarsely crushed Oreo cookies to the white chocolate and cream mixture.
2. Gently fold them in until they are evenly distributed.
3. Set the other half of the coarsely crushed cookies aside for garnishing later.
- Create the Oreo Base:
1. Take the previously prepared Oreo powder and mix it with 3 teaspoons of cream.
2. This will create a slightly moist Oreo mixture.
- Solidify the Cake Base:
1. Transfer the Oreo powder and cream mixture to a cake mold.
2. Spread it evenly in the mold and gently press it down to form a solid cookie base for the cake.
- Add the White Chocolate and Cream Mixture:
1. Pour the white chocolate and cream mixture over the Oreo base in the cake mold.
2. Distribute it evenly to cover the Oreo base.
3. Sprinkle the reserved half of the coarsely crushed Oreo cookies on top of the white chocolate and cream mixture. This will add a delightful texture and appearance to the cake.
- Freeze Overnight:
1. Cover the cake mold with plastic wrap or aluminum foil.
2. Place it in the freezer and let it set overnight or for at least 4-6 hours.
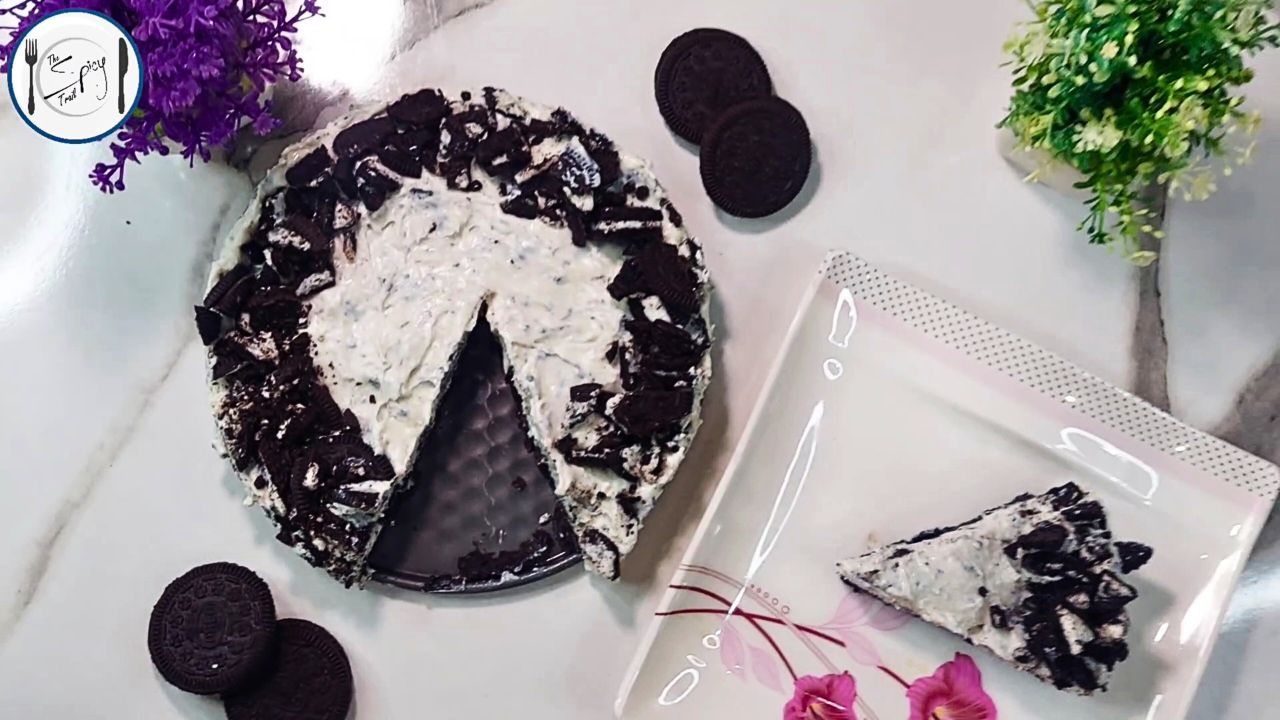
3. Once the Oreo cookie cake is thoroughly frozen, remove it from the mold.
4. Slice and serve your delicious homemade Oreo cookie cake. Enjoy!
After completing these steps, your delectable Oreo cookie cake is now ready to be enjoyed.
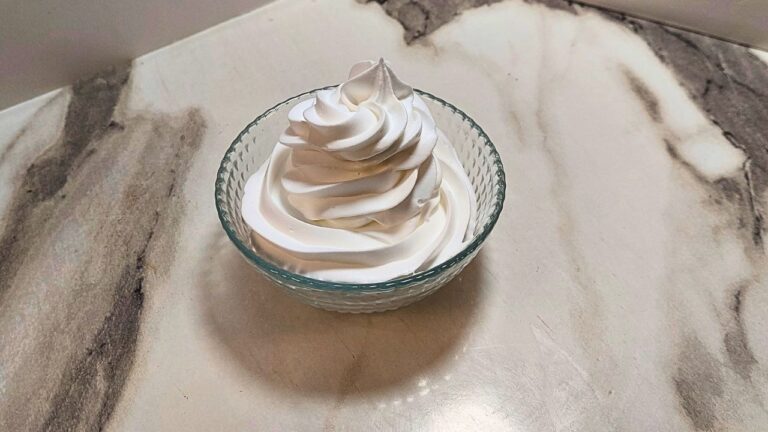
Serving Suggestion: To serve this delightful dessert, carefully slice it into portions with a sharp knife. The contrast between the creamy white chocolate and the crunchy Oreo cookie base is simply divine. You can serve it chilled for that perfect, refreshing treat. For an extra touch of indulgence, consider adding a dollop of whipped cream or a scoop of vanilla ice cream on the side to complement the rich flavors.
Useful Tips
Here are some useful tips for a perfect 3 ingredients Oreo cake:
- Room Temperature Ingredients: Ensure that your white chocolate is at room temperature when mixing it with cream; this helps in achieving a smooth and lump-free consistency.
- Even Distribution: When incorporating the coarsely crushed Oreos into the white chocolate mixture, gently fold them in for an even distribution without overmixing.
- Freezing Time: Allow the cake to freeze for a minimum of 4-6 hours or overnight for the best results. This ensures that it sets properly and is easy to slice.
If you’ve enjoyed this Oreo cookie cake, you might want to explore our wide range of other delicious recipes. From savory dishes to more sweet treats, we have a variety of culinary delights waiting for you to discover. Whether you’re an experienced chef or just starting in the kitchen, there’s something for everyone in our collection of recipes. So, continue your culinary journey and find your next favorite dish!