How to Make Pita Bread: A Flavorful Pita Bread Recipe by The Spicy Trail
Welcome to The Spicy Trail’s culinary journey! Today, we’re excited to share a recipe that transcends cultural boundaries, a versatile and healthy delight – Greek Pita Bread Recipe. Whether you’re an experienced chef or a novice in the kitchen, this recipe will guide you on how to make Pita Bread, a healthier alternative to traditional naan. The pita bread calories are notably lower, and it’s incredibly easy to digest, making it an excellent choice for your health-conscious culinary endeavors.
What is Pita Bread?
Greek Pita, with its origins in the Middle East, is a flatbread renowned for its iconic pocket-like structure, perfect for creating scrumptious Pita Wraps. Its global popularity extends to being the favored choice for serving delectable shawarma and makes a perfect alternative to traditional naan. Beyond its irresistible taste, this bread is hailed for its nutritional benefits. Boasting lower pita bread calories compared to naan, it’s a figure-friendly option. Our journey into pita bread nutrition reveals that it’s not just a tasty choice; it’s a wholesome one.
Is Pita Bread Healthy?
Lets come to the million dollar question: Is Pita Bread Healthy? When it comes to exploring the health aspects of pita bread, it’s evident that this versatile bread choice stands out in several key ways. Starting with pita bread calories, it’s evident that pita is lower than naan bread calories. This makes it an excellent choice for those who are conscious of their calorie intake. Additionally, pita bread nutrition reveals a range of benefits. It’s relatively low in fat and rich in dietary fiber, making it a smart choice for those seeking a balanced diet. Pita’s lower glycemic index can also contribute to better blood sugar control.
Now, as we delve into the world of culinary creations, pita bread shines as the preferred shawarma bread, creating the perfect pocket for Pita Wraps, filled with delicious fillings. When we draw a comparison between naan vs pita, it’s evident that in addition to higher naan calories, pita scores higher in terms of other health-conscious choices, while still offering the same delightful experience for your taste buds. And for those on a plant-based journey, you can also categorize this recipe as the vegan naan. So, when you’re seeking a healthier and more nutritious bread option for your culinary adventures, pita bread rises to the occasion, offering a delicious and wholesome foundation for your culinary creations.
About The Recipe
In the upcoming sections, we’ll guide you through the art of crafting your very own Pita Bread. The process is surprisingly approachable, and we’ll provide step-by-step instructions and useful tips. Whether you’re looking for a vegan naan recipe or simply craving the warm, soft goodness of homemade pita, we have you covered. The adventure begins, as we delve into the world of Pita Wraps, exploring the contrasts between naan and pita, unravelling the secrets of making this wholesome delight, which you can use as a delightful alternative to traditional naan.
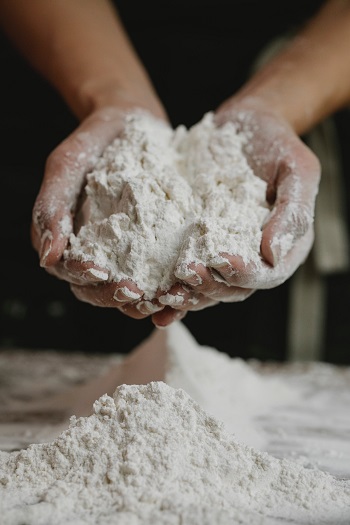
Before we embark on the exciting journey of Pita creation, it’s time to gather your ingredients and prepare your kitchen. You’ll want to ensure you have everything at hand to make the process smooth and enjoyable. So, gather your flour, yeast, salt, and sugar, and let’s create some sensational Pita Bread that is both delicious and nutritious. Get ready to experience the wonderful aroma and taste of freshly baked pita, right in the comfort of your own home.
How to Make Pita Bread: A Flavorful Pita Bread Recipe by The Spicy Trail
Course: SidesCuisine: MediterraneanDifficulty: Medium6
servings15
minutes15
minutes150
kcal60
minutes1
hour30
minutesIngredients
Milk – 1/2 Cup
Water – 1/2 Cup
Sugar – 2 tbsp
Yeast – 1 tbsp
All Purpose Flour -2.5 Cups
Salt – 1 tsp
Baking Soda – 1 tbsp
Cooking Oil – 1 tbsp
Directions
- In a bowl, combine 1/2 cup of water, 1/2 cup of milk, 2 tablespoons of sugar, and 1 tablespoon of yeast. Mix until the sugar is completely dissolved.

- Add 2.5 cups of all-purpose flour, 1 teaspoon of salt, and 1 tablespoon of baking soda to the liquid mixture. Knead the dough thoroughly. While kneading, incorporate 1 tablespoon of cooking oil, and if necessary, add additional water to achieve a smooth and elastic dough. Cover the dough with cling wrap and allow it to rest for approximately 1 hour. This resting period will help the dough rise and become more pliable.

- Uncover the dough and give it a gentle knead. Then, divide it into small balls and shape them into your desired size using a rolling pin.

- Heat a hot plate or griddle. Cook each side of the shaped dough until it turns light brown, or according to your preference. Once cooked, your homemade Pita Bread is ready to enjoy. Fill it with your favorite ingredients to create delicious Pita Wraps or savor it on its own.

Notes
- Please be aware that the provided calorie information is estimated and may not be entirely accurate, as it can vary based on factors like ingredient brands and portion sizes. We are not responsible for any dietary decisions made based on this information, and we recommend consulting with a nutritionist or using a nutritional calculator for precise calorie counts tailored to your specific ingredients and quantities.
Serving Your Delicious Pita Bread
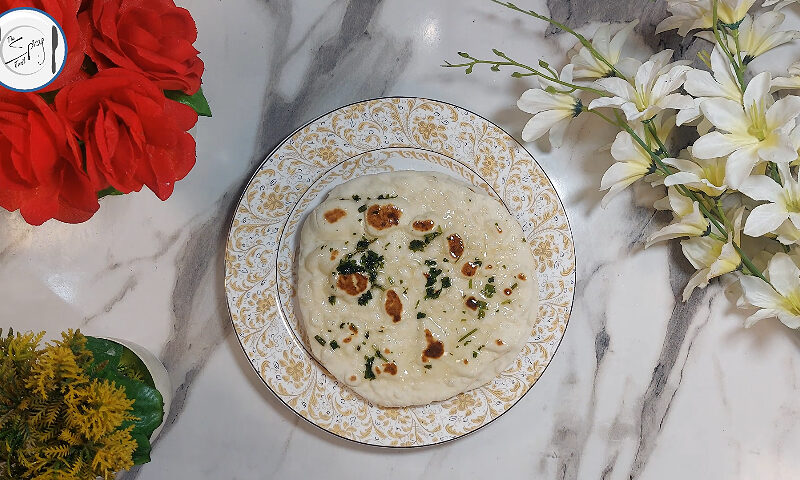
Your homemade Pita Bread is now ready to delight your taste buds. To savor it at its finest, consider serving it warm, perhaps garnished with a touch of butter and a sprinkle of fresh coriander. This not only enhances its flavor but also adds a lovely aroma to the experience. Whether you choose to use it as a side dish, the base for your Pita Wraps, or even as a healthier alternative to traditional naan, your Pita Bread is a versatile culinary canvas ready to be explored.
Storage and Shelf Life
Wondering how to store your freshly baked Pita Bread? You can keep them in an airtight container or a zip-lock bag. When stored properly, Pita Bread remains fresh for up to 2-3 days at room temperature. If you want to prolong its shelf life, consider freezing your Pita Bread. Wrap them individually in plastic wrap and then place them in a freezer-safe bag. Frozen Pita Bread can be kept for about 2-3 months. Just thaw them as needed and reheat to enjoy.
Useful Tips
Here are some handy tips to make your Pita Bread-making experience even more delightful:
- When rolling out the dough, aim for a thickness of about 1/4 inch to ensure it puffs up nicely.
- If your Pita Bread isn’t puffing, it might be due to the heat of the cooking surface. Ensure it’s hot enough.
- Experiment with whole wheat flour for a healthier twist on the classic.
- Consider adding your favorite herbs and spices to the dough for extra flavor.
We hope you’ve enjoyed crafting your own Pita Bread, and there’s a world of culinary exploration awaiting you. The Spicy Trail offers a wide array of recipes that span various cuisines and cooking levels. From savory dishes to mouthwatering desserts, our collection has something for every palate. Feel free to browse our repertoire of culinary delights and embark on more culinary journeys with us. Happy cooking!

